reswright
-
Posts
12 -
Joined
-
Last visited
Content Type
Profiles
Forums
Blogs
Gallery
Downloads
Events
Everything posted by reswright
-

Next Ultimate General Game, What would you like to see?
reswright replied to michaelsmithern's topic in General Discussions
Anglo-Zulu war of 1879. Although you guys would really need to fix the movement speed of cav vis a vis the movement speed of infantry to make that work. In this game, foot units can match the pace of horse over a sustained run, and occasionally elude them -- that might have been necessary to achieve game balance for the Gettysburg scenarios, but it really does jar a bit as a game mechanic. Natali Mounted Police, dragoons, and irregulars all play a heavy role in Brits vs Zulus so fixing it matters. Whoever coded the skirmishers and Confederate morale probably has a good set of ideas to craft the different Zulu tribes confronting the British columns invading their land. You know how Union skirmishers tend to be grouped into one main body and two smaller bodies? Very Zulu. It's how you go for the flanks and exploit your mobility. They couldn't crack a wall of massed fire so they had to maneuver, and they were good at maneuver. Whoever coded the Union will have a decent idea of how to code the Brits. The Brits are a cross of Reb close quarter battle skills and Union discipline on the defensive, which is why Rorke's Drift is such an iconic battle for them. The Fortify skill you guys added for the iPad version of UGG would be crucial for the Brits and probably not even available to the Zulu unless game mechanics made it absolutely necessary. You have three different kinds of artillery for the British. 7 pounder guns, gatling guns, and -- rockets! Yes, they had rockets, even in the late 1800s. Believe it or not they got the idea in India where their opponents first used crude rockets against their infantry. They didn't have explosive warheads, they just shot huge flaming missiles into the oncoming attackers. Fire was what killed. The Brits said 'this is a good idea' and started making better versions of them. Picture that on the screen -- the guns like we have now, the stream of the gatling fire, and then the big fiery whoosh of the 9 pound rockets firing from their troughs. The Zulu don't have arty; if they did, the Brits would have perished. They do have some captured British rifles in addition to their typical arsenal of assegais and knobkerries, but they couldn't make use of any arty they captured. And they have numbers. And the Zulu were fearsome warriors that on several occasions beat the better armed Brits. At Isandlwana they annihilated the Brits -- sort of their Little Bighorn moment. And unless you were keen eyed, you could miss them until you were right on top of their ambush, because they made expert use of their terrain -- even though the Zulu were usually bigger on letting you see them lined up and waiting for you. Like the Rebs, their skills on offense included making use of psychological warfare to intimidate an enemy. And they responded to the presence of their nDuna in a way that closely corresponds to how UG treats corps commanders. And to mix it up, the Brits can even have native volunteer troops of Zulu fighting on their side. Both sides have a range of unit quality from below average to elite. The main theme would be the Brits having better units that they have to shepherd and the Zulu enjoying better numbers and starting position on the battlefield that they have to exploit. The whole campaign historically featured a wide range of types of engagement over a wider range of terrain. Finally, it would be simplicity itself to offer a Boer war expansion where the Brits are fighting Dutch settlers. That would be much more symmetrical and closer to the ACW in terms of how combatants match up, but would lack the flair that Brits vs Zulus have, so it'd probably be a better follow on than a lead in. Still, you're probably already mostly there in terms of the AI for these units and getting them to act historically consistent in a fashion that makes for good gaming. And once you get a coded Brit army that works well, it won't be hard to find other historical examples you can use featuring British regulars, because over they years they pretty much fought everyone at least once, from irregular and comparatively primitive forces to the soldiers of other major nations. If you do the Anglo Zulu war? My one big overriding request is to make the iPad version a little heftier. That form factor is just awesome for gameplay. Give if more oomph in terms of what all you can do on it. The Gettysburg scenarios have crazy replay value even without most of the best features of UGG; if you allowed campaign mode OR head to head, either or, let alone both, I think your next game on the iPad might end up defining the genre. My second request would be to make it a little harder to accidentally select a leader and all his nearby affiliated troops, because you end up accidentally unfortifying your men and repositioning the line while under direct fire. One fat fingered swipe or double tap and the battle changes direction in a way that isn't entertaining at all. -
Problems with the iOS Leaderboard and Statistics Tab
reswright replied to reswright's topic in General Discussions
I went back and looked at the screen shot I took at the time and it turns out that it's not a 9k score, but a 7k score, that is now 115th on the leaderboard. I should add here that in my estimation, it's probably possible to complete this mission with 30 or fewer total casualties. You would have to be really good at falling back and keeping ahead of a charging brigade of Confederate infantry, you would have to use cover to the maximum, you would have to position everyone perfectly, and you would have to simultaneously hit a retreating Barksdale with all your units in a charge at roughly the same time. You'd have to avoid arty fire and you'd probably need a bit of luck., because between use of cover and falling back, you wouldn't be able to let him get a single clean volley off at your troops, as a good hard volley from Barksdale's brigade is capable of killing hundreds of Gregg's finest. . Even with all that, and with incongruities such as the weird way Confederate infantry can match pace with Federal cavalry when retreating, I'm sure it can be done at 30 or under casualties. -
Problems with the iOS Leaderboard and Statistics Tab
reswright replied to reswright's topic in General Discussions
By way of illustration: My 9k score is currently 114th on the leaderboard. This score? Isn't on it. Kind of needs fixing, wouldn't you say?

-
Help Needed for Union Cavalry Raid for iOS
reswright replied to Suspender_John's topic in General Discussions
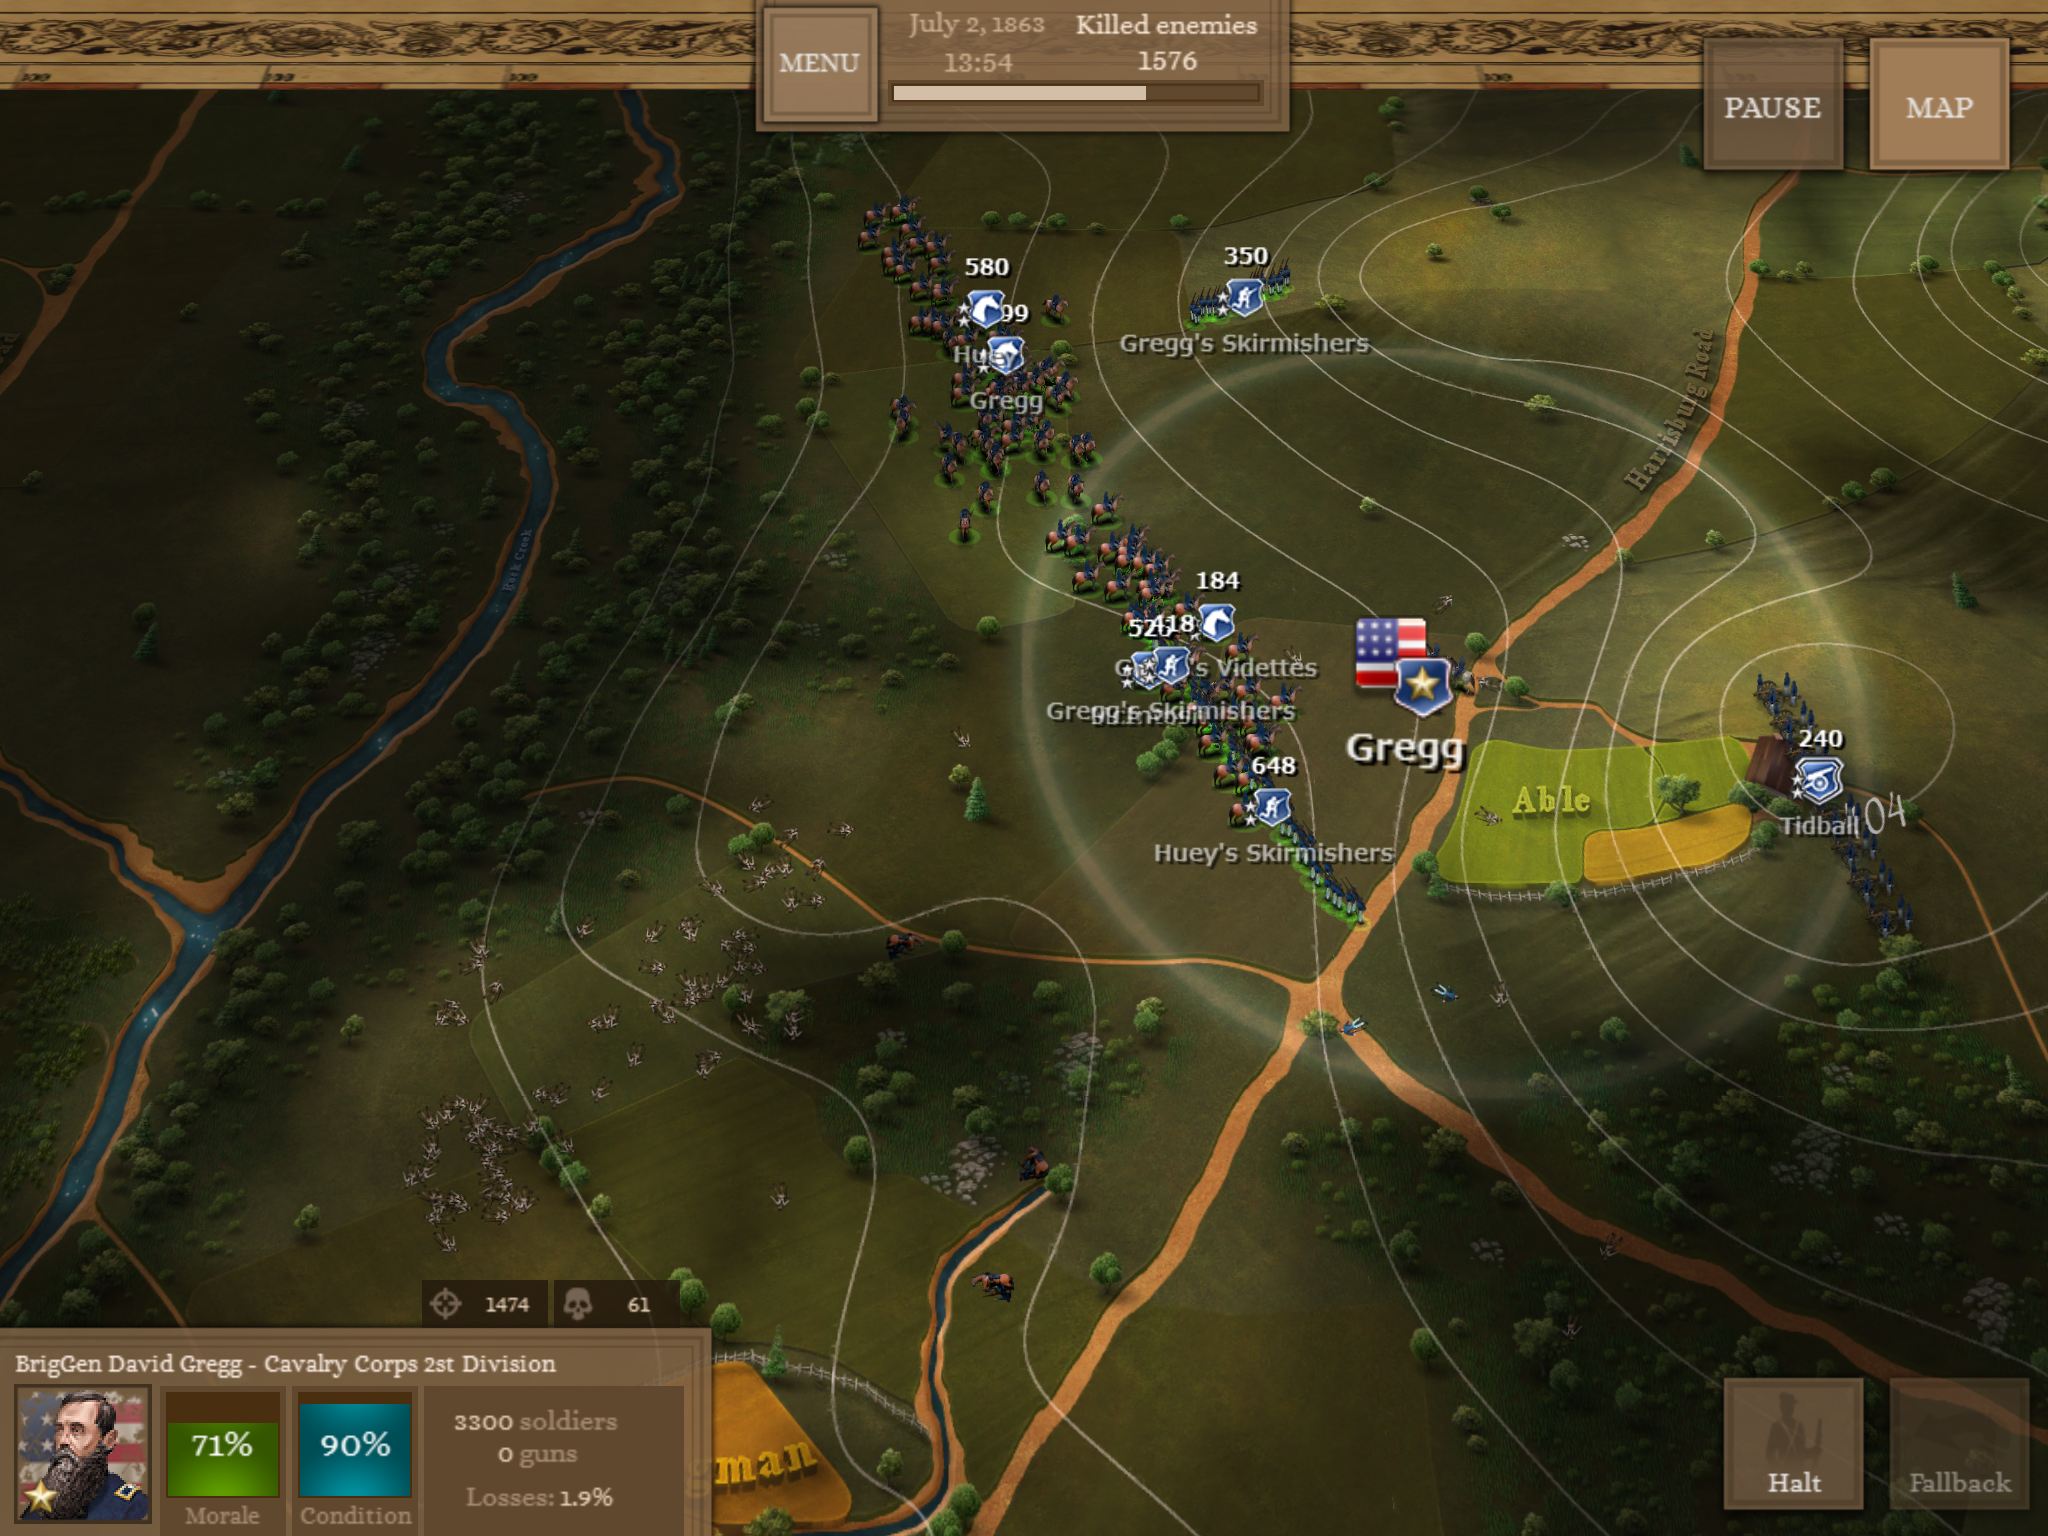
This is the score you get from that.
-
Help Needed for Union Cavalry Raid for iOS
reswright replied to Suspender_John's topic in General Discussions

-
Help Needed for Union Cavalry Raid for iOS
reswright replied to Suspender_John's topic in General Discussions
Oh hey, that's not my artillery
-
Help Needed for Union Cavalry Raid for iOS
reswright replied to Suspender_John's topic in General Discussions

-
Help Needed for Union Cavalry Raid for iOS
reswright replied to Suspender_John's topic in General Discussions
What it looks like when Barksdale takes so long to lure that all your cav comes up before he can be safely baited into a charge into the woods.
-
Help Needed for Union Cavalry Raid for iOS
reswright replied to Suspender_John's topic in General Discussions
Send your skirmishers into the triangular wood right before them. Put Gregg in there with them. Send the videttes sweeping down the road that heads south and meets with a larger one also heading south -- take that until you get to the small patch of woods where the contour lines are bowing out. Loop around it, staying within the 388 contour. Just at the apex you should induce the nearby Barksdale to charge at you. Fall back toward the woods but cut across the open a little bit. It'll invite cannon fire. You'll take a few casualties, but that battery will now be in motion and that's the important part. Keep falling back, making sure you don't get too far away from Barksdale that he loses interest. Flee into the woods. If he doesn't follow you, stick your smallest group of skirmishers on the edge so he can see them, he'll usually charge then. When Barksdale goes into the woods, keep falling back with the unit he's targeting. While he charges past the other skirmishers, hit him with flank fire. Barksdale's charge will slow, stop, waver, and then he'll break eventually. By this time you should have arty and your first batch of cav on the map. Move the arty to the knoll overlooking the woods when it comes in and put the cav as close as you can to Barksdale without direct combat, while he's busy being drygulched but hasn't broken yet. As soon as Barksdale breaks -- and timing helps here, because this can happen right around the same time the rest of your cav arrives -- charge him with everything. Even the videttes. The direction Barksdale's brigade attempts to flee in will change upon the circumstances, but you don't want him fleeing back to the main body of troops. If you're sloppy he'll slip away with the majority of his men, either to the south or skedaddling off the map. If you're sharp you can annihilate his brigade and meet your 1500 kill quota -- which, as people have noted without understanding it, is not the same thing as a 1500 casualty quota as kills are only one kind of casualty. Meanwhile, the Rebel arty that fired on your videttes often comes looking for them. By itself. I'm pretty sure I don't need to tell you how to handle that, and add them to your score. The major trick to doing this successfully is to keep an eye on where your units are on the map and knowing what's visible from the southern part of the map, and to keep them out of sight of Ewell's men entering from the right of the map. If you're the least bit sloppy you'll start taking cannon fire from Jones' battery and unlike the other one, Jones will just put his guns on an advantageous spot and start bombarding you. He will have the advantage, he'll be able to shoot you when you can't shoot him, and running down there to take him out is doable but will cost you dear in men, as you'll run into at least one, if not two or more, three star Rebel infantry brigades. If Jones starts bombarding your men, your choices are to take the losses, or to go take more trying to silence his batteries, and while you can, indeed, using a variation on these same tactics -- draw the brigade in a charge, maneuver fire onto its flanks, then charge with everything when it breaks and starts to flee -- but that will end up being Smith, who despite being half Barksdale's size will hurt you worse than Barksdale can, or Gordon, with one of the biggest three star brigades the Rebs have. And you won't be in a woods where your units are hidden, like they are when you ambush Barksdale. So it won't go as well as that did. If Ewell is there to sustain their morale and condition, it'll go worse than that. A lot of folks are frustrated with the abilities of Federal cavalry in this scenario, but they're fairly accurate. There's a reason Buford dismounted his men to defend the ridges west of Gettysburg instead of leaving them mounted, and in the Civil War, cav got shot to pieces if it tried to charge infantry. They weren't trained well with the saber charge and almost never attempted it. It's a bad idea for a standup fight. If you want to do well on this scenario, you should be doing three things with your cav -- keeping them out of sight at first, feinting or circling at the flanks and hitting with harassing fire (you can keep a battery spinning around and not firing for quite a while if you are sharp about it, it's probably a little too easy to do), and waiting for the infantry to eventually fall into disorder. When a brigade badge starts flashing white, charge it with your cav, because under those circumstances they go from cannon fodder to killing machines. Charging cav at infantry under any other circumstances is a dangerous tactic so don't be surprised it if kills half your troop in half a minute. Once that selfsame infantry breaks ranks and starts to flee, three charging troops of cav can kill over a thousand fleeing infantry in short order, so it's pretty clear how you want to use them. Finally, a number of folks have talked about the importance of artillery. In my point of view it's probably the least important part of your puzzle. It's of use if you can manage to get fire onto an advancing brigade but that's just to damage the morale and make them break faster so you can charge and annihilate them. Moving them any closer into the action, let alone close enough for canister fire, will invigorate the enemy; UG says that AI units get no special bonuses to make them competitive, but I don't really believe them. I've found that putting cannon in their face tends to temporarily turn even lowly one star brigades into bionic killing machines spattered with bits of horse and carriage, so I avoid doing that. None of this is to say that everyone talking about arty is wrong - maybe in their tactical approach it's much more important, but that hasn't been the case for me for this scenario. -
Help Needed for Union Cavalry Raid for iOS
reswright replied to Suspender_John's topic in General Discussions
You may want to try a different approach. -
Problems with the iOS Leaderboard and Statistics Tab
reswright posted a topic in General Discussions
I've been playing the game for over a year now, and while I mostly love it, I've noticed a few things about the leaderboard - namely, my highest score games don't seem to post to it. Scores up to 9000 seem to register, but it's looking like scores above 10000 do not. Can this be fixed? I've read that there's no plans to patch the iOS version but why have a leaderboard at all if the highest scores don't show up on it? As an aside, it'd also be nice if the 'kills/losses', 'kills' and 'casualties' metrics that display on the Statistics tab could be rationalized, as right now it's very hard to intuit what they could possibly be tracking. I've had a Kill/Loss ratio of .97 for months now. Does that mean I'm 97th percentile? Does that mean 97% of the casualties I inflict on the enemy are kills? Because if it is meant to indicate that I kill .97 of an opponent for every one of my men that dies, it's broken -- that ratio would end up being more like 2 or 3 kills for every casualty I take, were it accurate. thanks in advance! -
I fail at Night alert all the time (Ipad)
reswright replied to i00erijo's topic in General Discussions
For a long time, I struggled to beat Night Alert on Easy defending the hilltop. Medium and Hard weren't doable at all. i thought it was bad design, that the Rebs were just too overpowered in this scenario, but I also wondered if I were overthinking it somehow. Went on that way for about a year -- three stars on every scenario except Night Alert. Basically, that's what happens when you do what Meade would do -- or what Meade would order you to do. It's not just you. Sitting on that hilltop waiting for the Rebs to push close enough to overrun you with a massed charge; if you execute flawlessly, you can squeak out a victory sometimes that way, but more often than not the Rebs will wipe you off the hilltops no matter how well you mix falling back with canister fire. And for what it's worth I think that's probably historically accurate when you look at how many Rebel brigades commit to the attack and their talents at melee combat. If you've read this far, you probably could use a hint: Your hint: 'What would Stonewall Jackson do?' The very first time I went about it that way -- the best defense is a good offense -- I beat it on Hard, easily. willing to bet you can, too